


Related posts

A 2-Year Candle Maker’s Honest Pick: 3 No-Regrets Bundles – Beginners & Pros, Listen Up!
DIY Candle Bundles - iscandle.com
/* 全局样式隔离,避免冲突 */
.candle-article-container {
max-width: 900p...
Why Choose Our Candle Website Over Other E-Commerce Platforms?
Why Choose Our Candle Website
/* 完全隔离的命名空间,避免样式冲突 */
.candle-article-container {
max-width...
Sustainable Holiday Celebrations: How to Host an Eco-Conscious Candlelit Dinner
The holiday season is all about gathering with loved ones, savoring warm moments, and embracing joy—but too often, this comes with hidd...
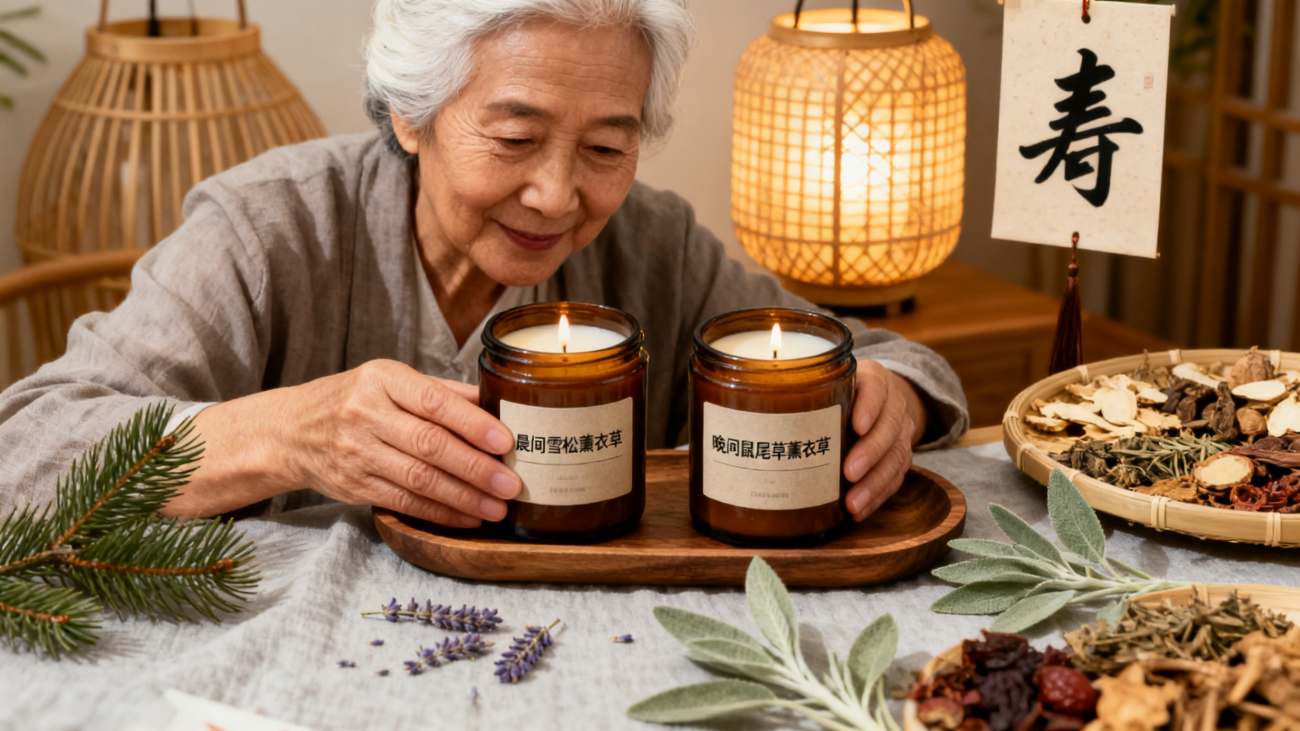
The Candle from Longevity Village: A Small Ritual for Calmer, Fuller Days
/* 唯一前缀:lvcs- ,所有样式仅作用于带该前缀的类,无任何标签选择器 */
.lvcs-body {
background-color: #FFFDF8;
color...
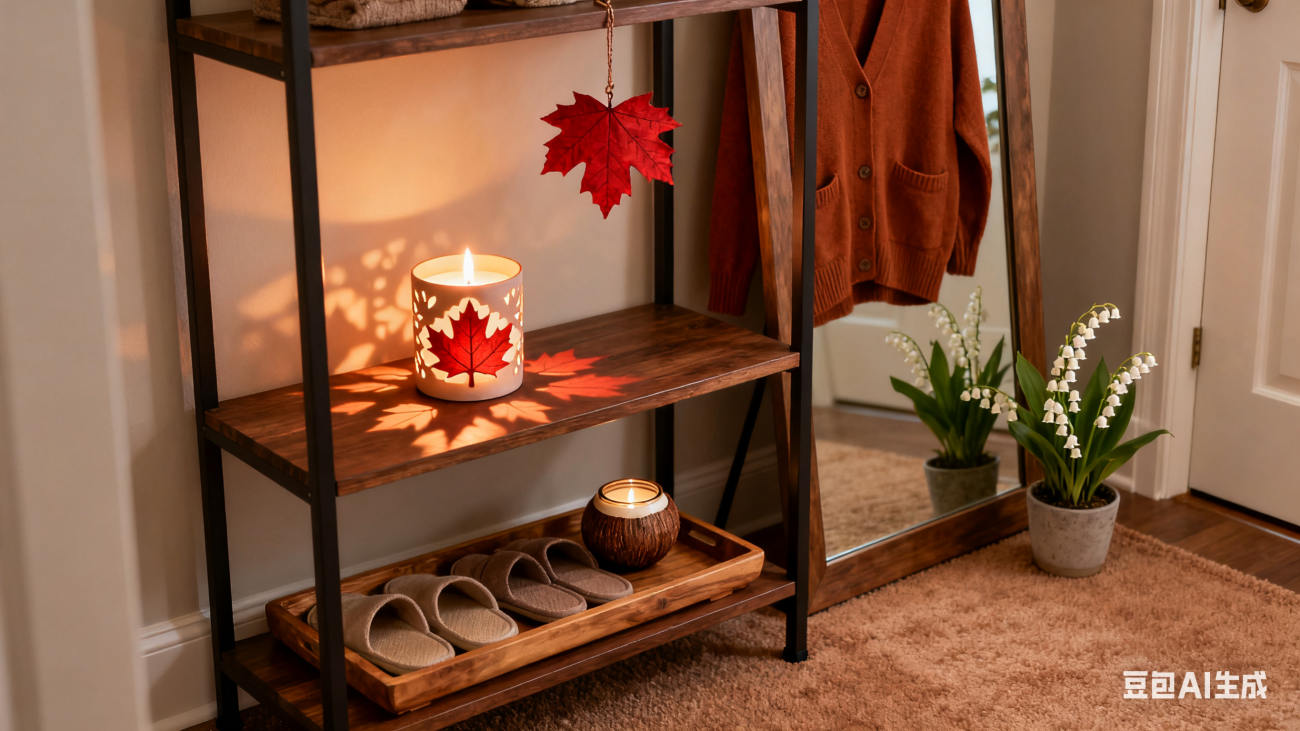
Must-Haves for This Autumn: 5 Warm Spiced Candles to Ignite Your Cozy Season
When the plane tree leaves outside the window turn caramel-colored, and the cool evening breeze carries the faint scent of osmanthus pa...

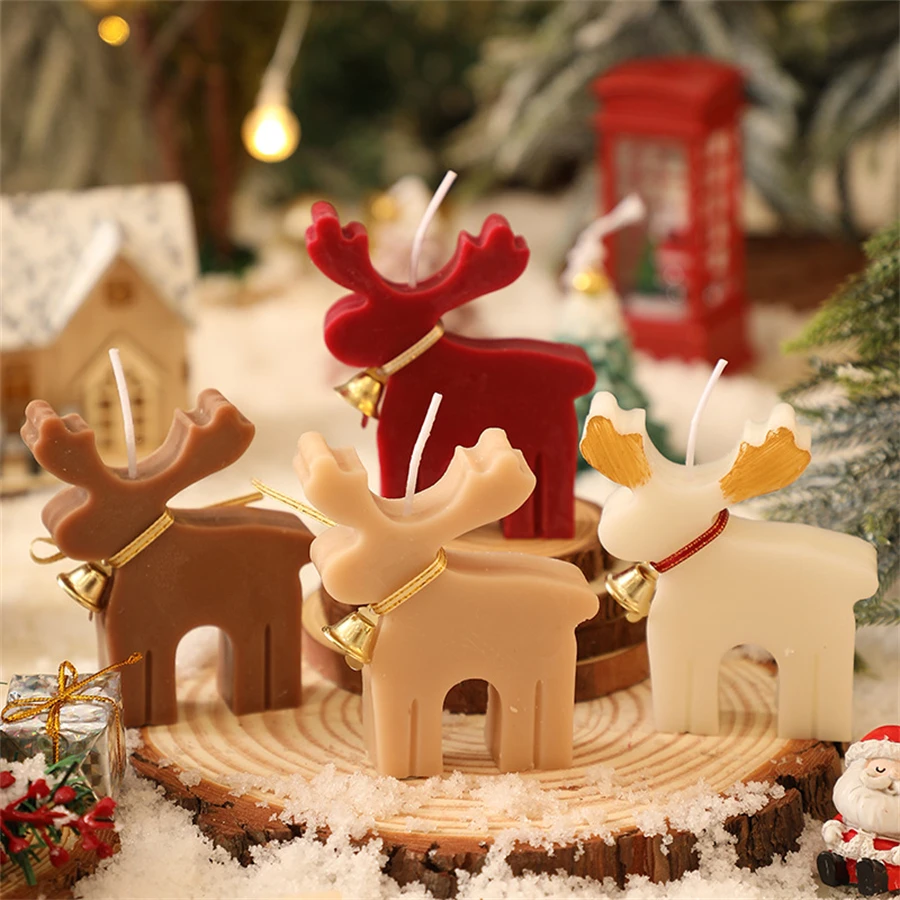
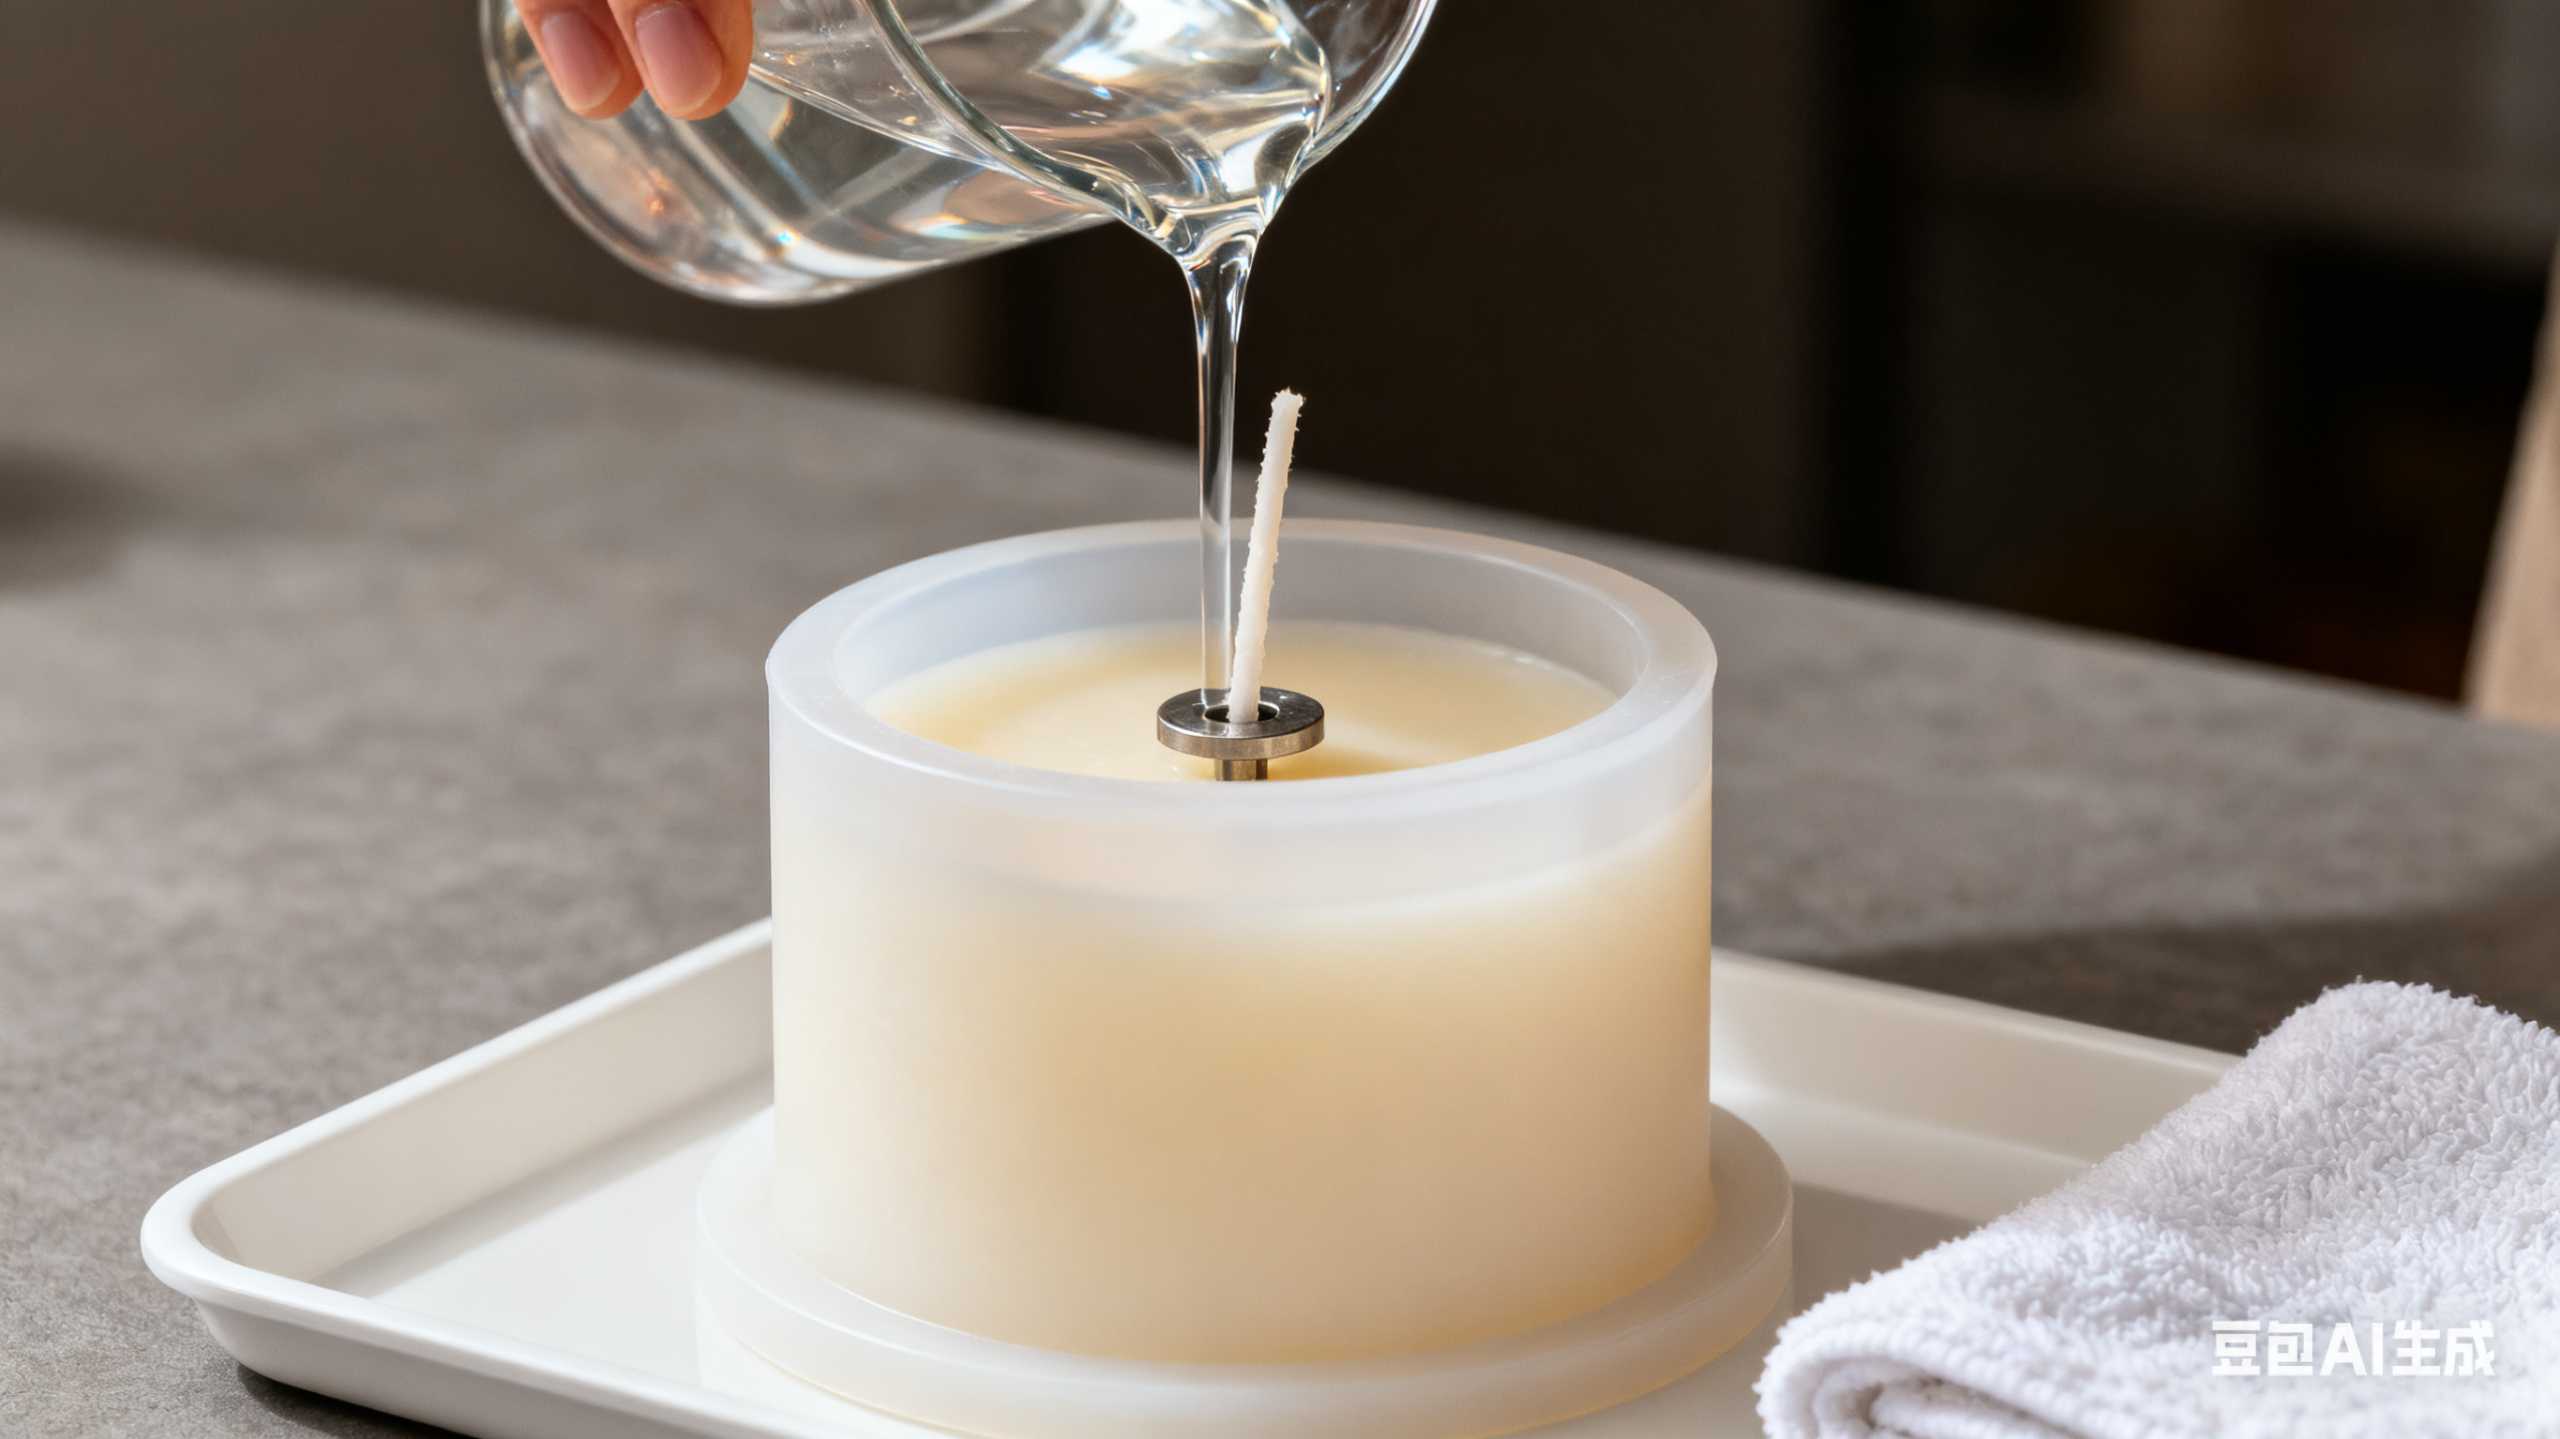
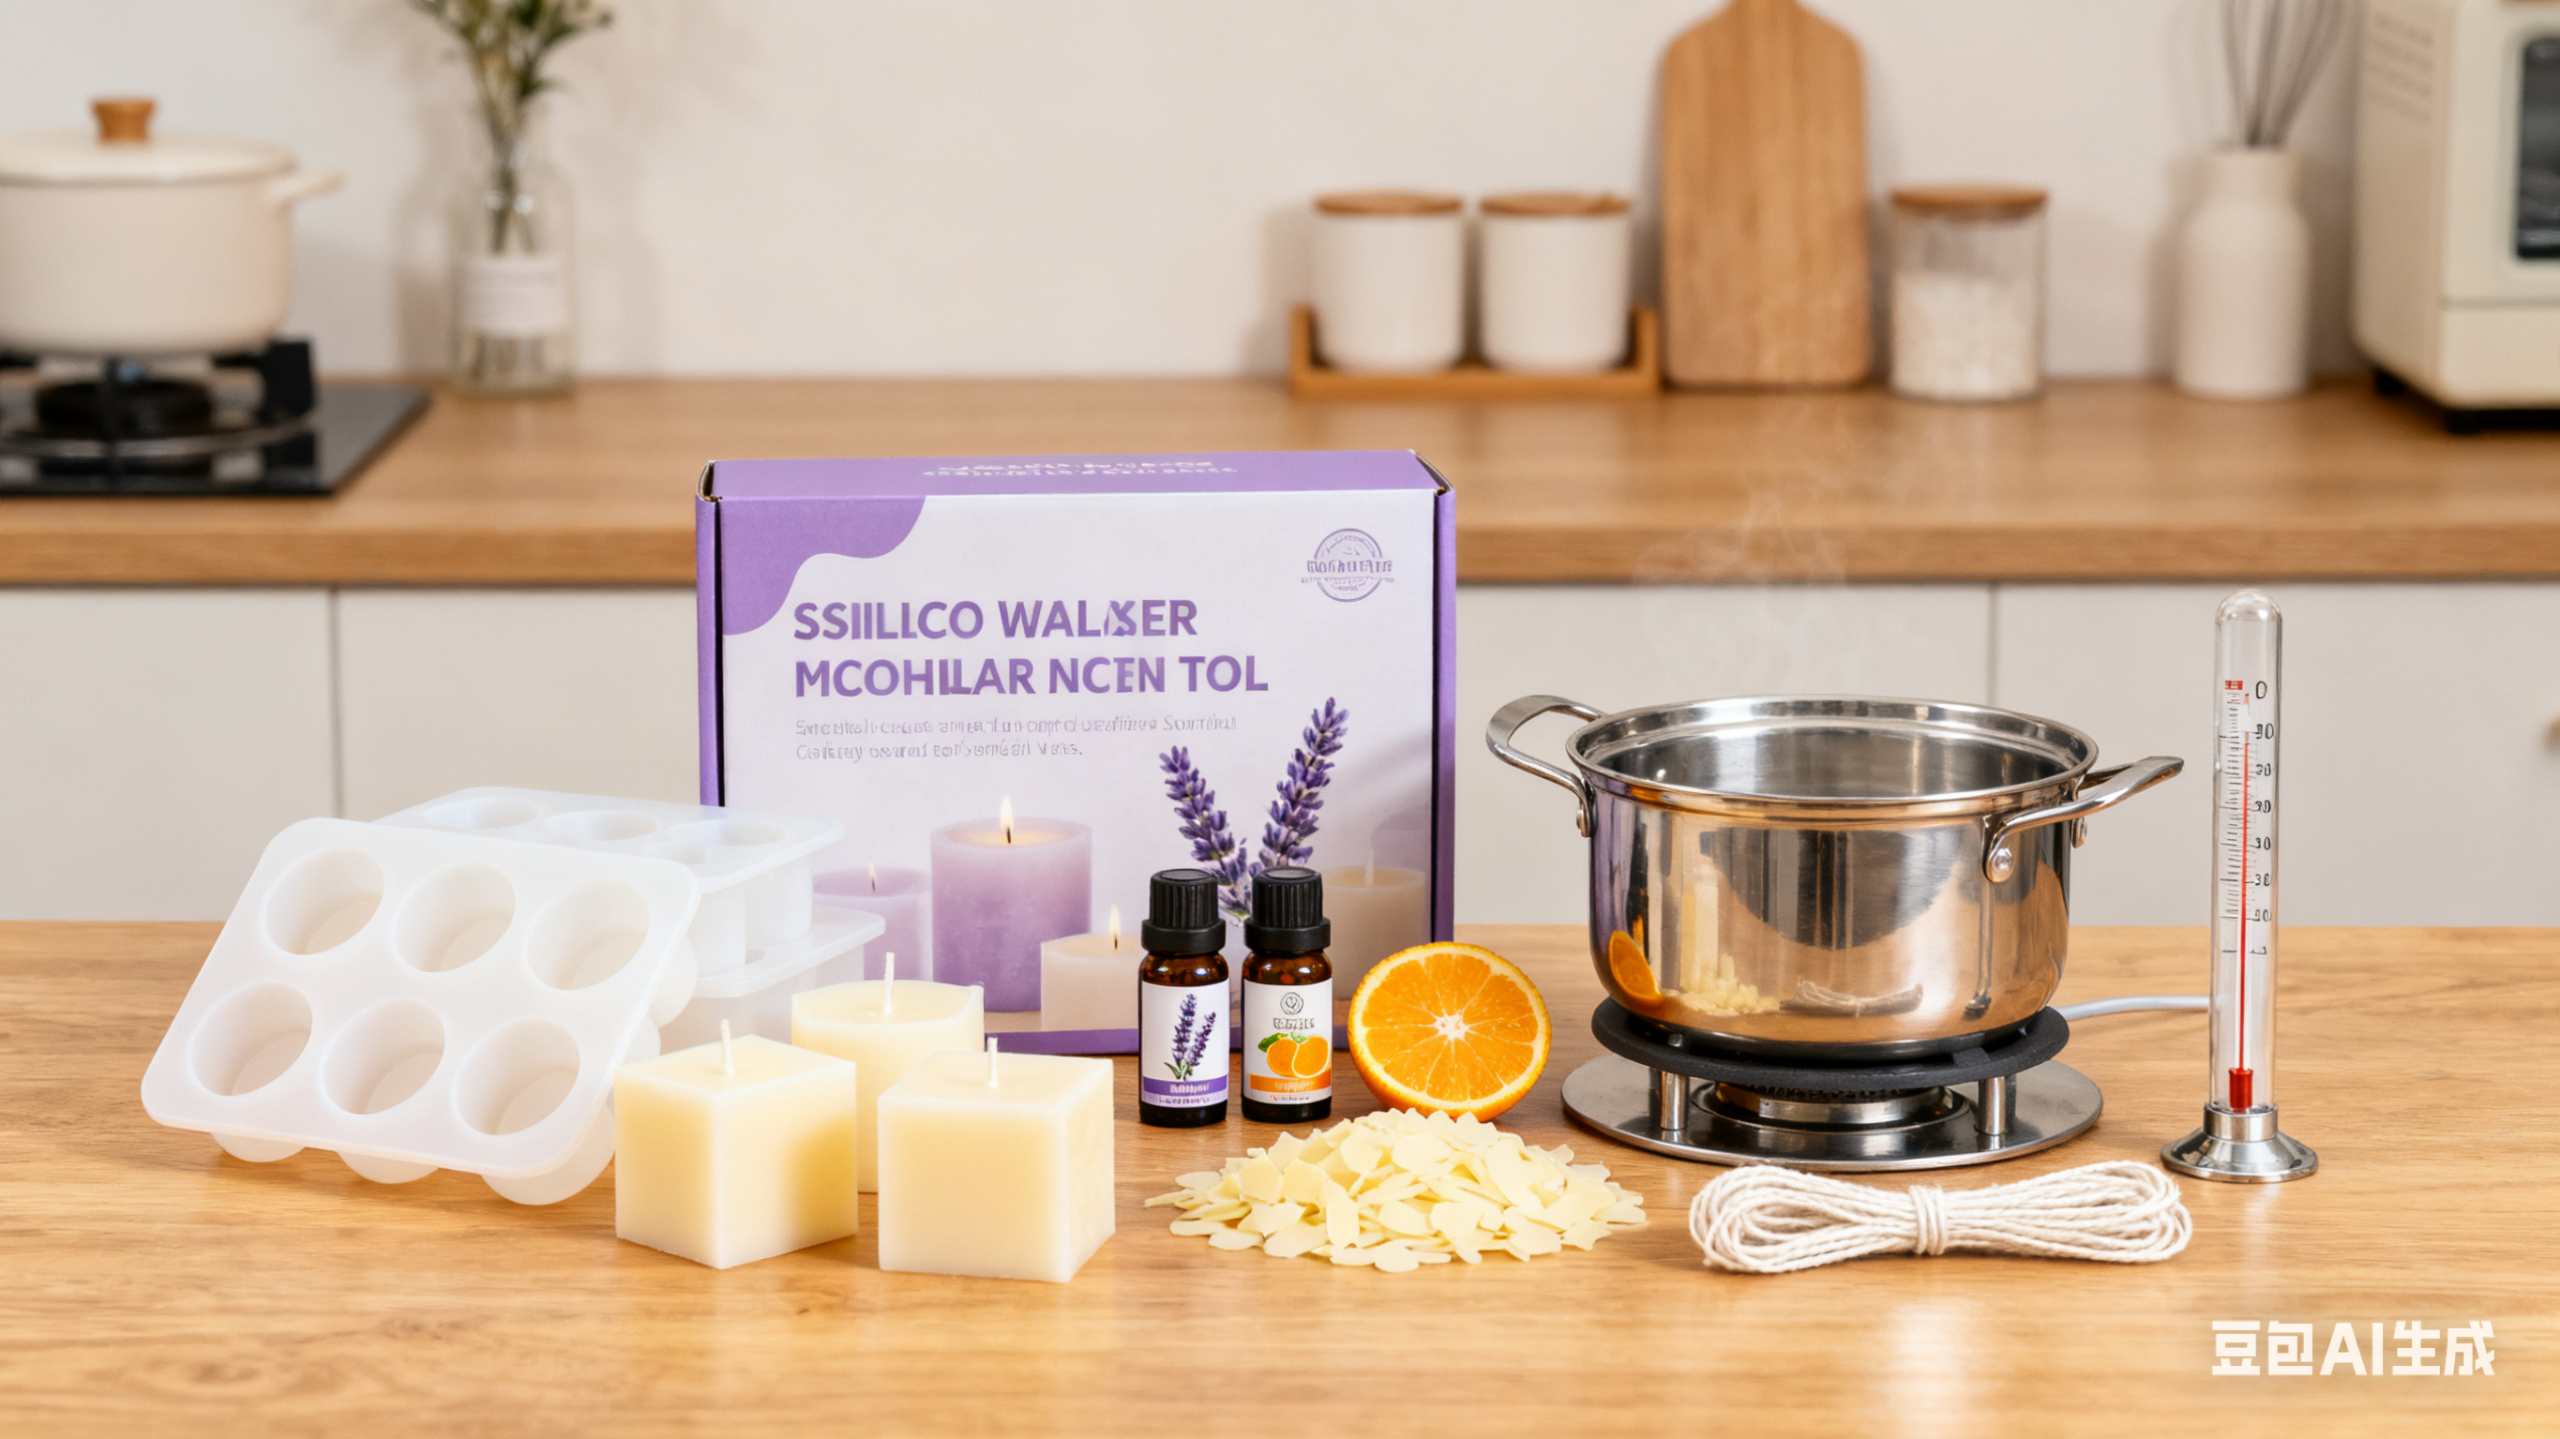
Getting Started: How to Make Your First Handmade Candle Using Silicone Moulds
For beginners, the most healing moment of making handmade candles is watching the melted wax solidify into shape in the mold and finall...
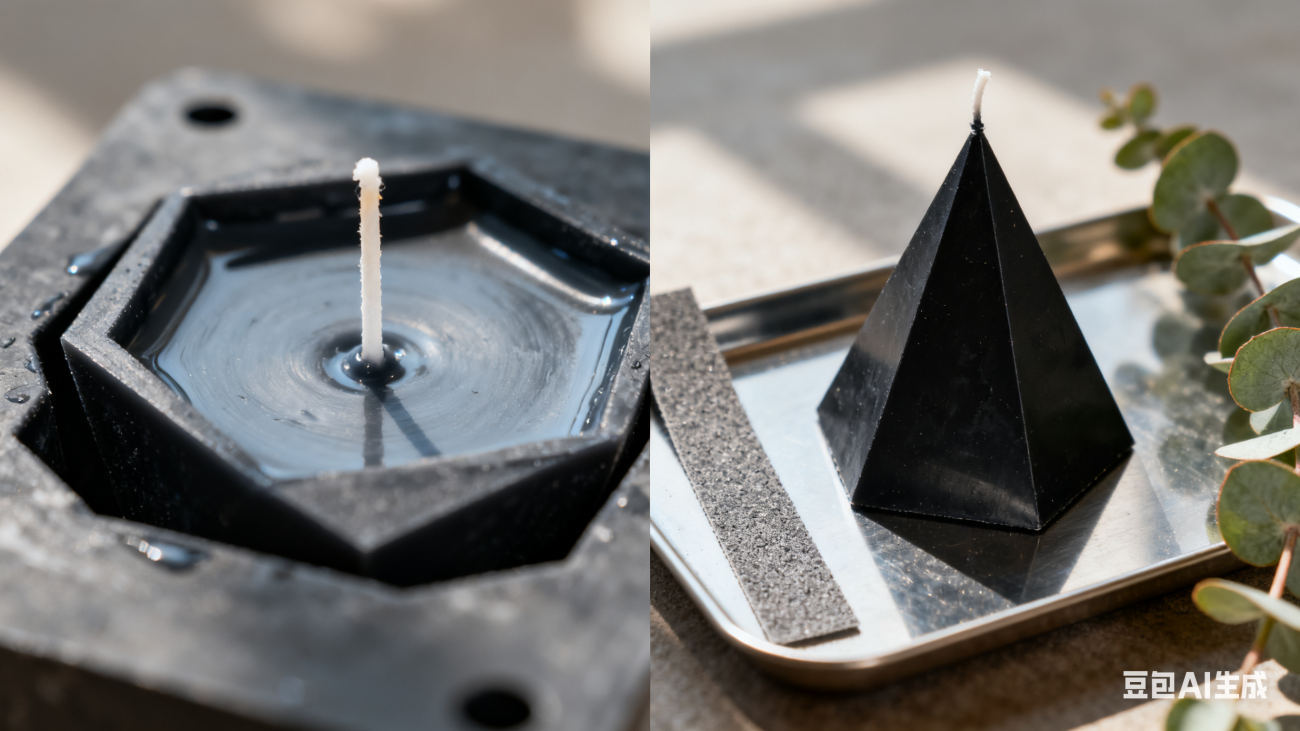
5 Stunning Geometric Candle DIY Tutorials: Unlock “Cool Aesthetics” with Moulds
When candles break away from traditional cylindrical and cup shapes and take on sleek geometric lines, they instantly become decorative...